Seeding & Sod
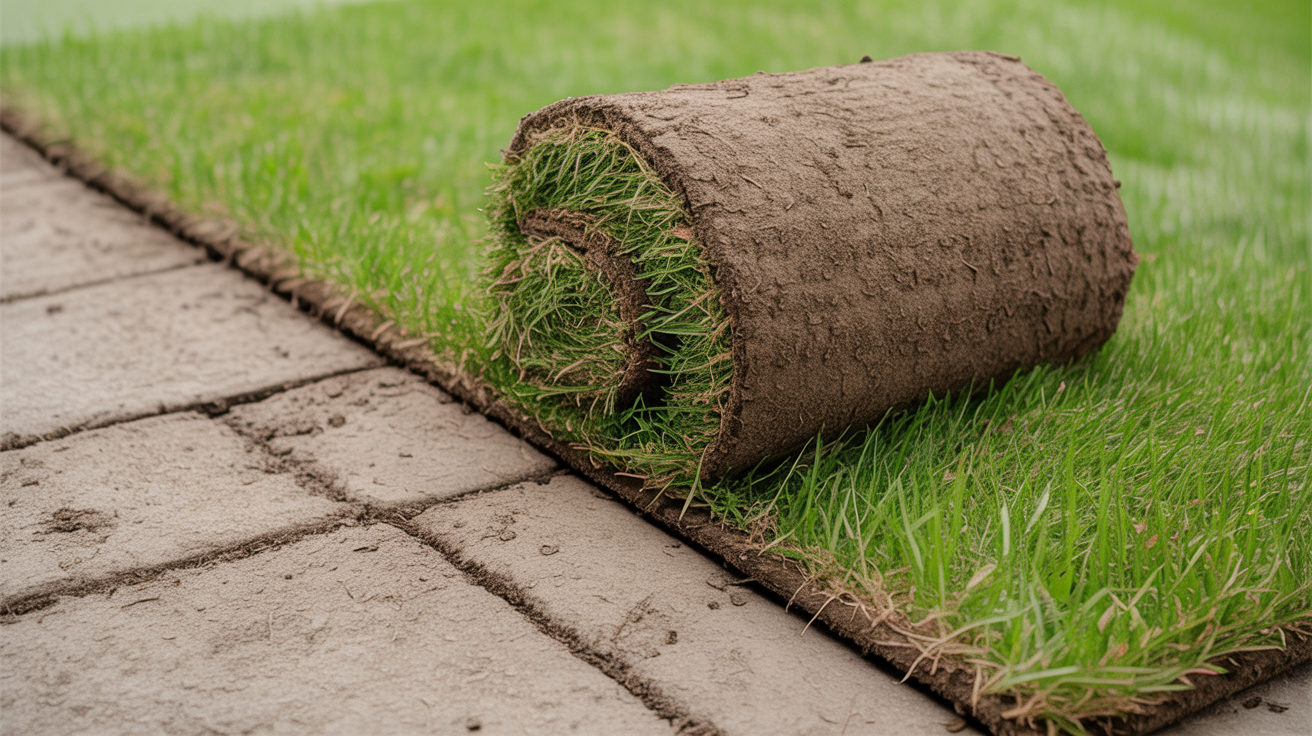
How to Lay Sod for an Instant Lawn
Learn how to lay sod the right way — from soil prep and grading to staggered seams, rolling, and the watering schedule that gets roots down fast.
Sod gives you a finished-looking lawn the same afternoon you start. That's its main appeal over seed: no waiting through germination, no watching bare dirt wash away in the first rain. The trade-off is cost, and the fact that sod punishes shortcuts in soil prep more harshly than seed does. Get the ground ready properly, keep the new turf wet for the first two weeks, and you'll have a lawn that roots in and stays. Rush either of those things and you'll end up with crispy edges and dead patches inside a month.
When Sod Makes Sense (and When It Doesn't)
Sod is worth the premium in a few situations: you need a usable lawn fast, erosion on a slope can't wait for seed to establish, or you're filling in a high-visibility front yard where bare ground looks bad. It's also a reliable choice on steep grades where seed would wash before it could sprout.
Seed makes more sense for large areas where the sod cost becomes prohibitive, or when you have time and can water consistently for six to eight weeks. Choosing the right grass species matters either way. If you're not sure whether to plant a cool-season or warm-season variety for your region, this comparison of cool-season vs. warm-season grasses walks through the tradeoffs in detail.
One more timing note: sod should be installed the day it's delivered, or the morning of the next day at the absolute latest. Pallets heat up fast and the grass starts dying from the inside out within 24 to 48 hours, especially in summer.
Preparing the Ground for Sod
This is where most installations succeed or fail. A common mistake is laying sod over compacted, weedy ground and hoping the new turf smothers whatever's underneath. It doesn't work. The existing vegetation dies and creates an uneven, spongy layer between the new roots and the soil, and the sod never makes solid contact.
Step 1: Clear the area. Kill or remove all existing grass and weeds. A non-selective herbicide (glyphosate-based) applied two weeks before installation works well for large areas. For smaller patches, sod-cutting by hand or with a sod cutter rental is faster. If you used herbicide, wait the recommended interval before planting, which is usually 7 to 14 days.
Step 2: Remove debris and dead material. Rake out dead vegetation and rocks larger than a golf ball. Small stones are fine to leave; large ones create voids under the sod.
Step 3: Till the soil 3 to 4 inches deep. This breaks up compaction and gives roots somewhere to go. A rear-tine tiller covers ground quickly, though a garden fork works for tight spots. If your soil is heavy clay or pure sand, this is the time to work in 2 to 3 inches of compost across the entire area.
Step 4: Grade and level. Rake the loosened soil so it slopes gently away from any structures (about 1 inch of drop per 10 feet is enough for drainage). Fill low spots and break up clods. The surface should be about 3/4 to 1 inch below adjacent sidewalks or driveways, since the sod itself will bring the grade back up to flush.
Step 5: Apply starter fertilizer. A phosphorus-heavy starter fertilizer, applied per the label and raked lightly into the top inch of soil, gives new roots something to find immediately. Do this right before you lay the sod, not days ahead.
Step 6: Water the soil. Lightly moisten the prepared bed the evening before or morning of installation. The soil should be damp but not muddy. Dry soil draws moisture out of the sod rolls too quickly during installation.
Laying the Sod
Order a little more than you think you need. Most suppliers recommend adding 5 to 10 percent to your square footage estimate to account for cuts, curves, and inevitable waste. Have a utility knife or a serrated bread knife on hand, along with a sod roller, which most equipment rental places carry.
Step 7: Start along a straight edge. Begin at a driveway, sidewalk, or string line, laying full-length pieces in a row. Don't start in the middle of the yard and work outward, you lose your straight reference line.
Step 8: Stagger seams in a brick-pattern offset. Each row should be offset by half a roll from the row before it, exactly like bricklaying. This prevents long continuous seams from running across the lawn, which would dry out faster and show more obviously if any settling occurs.
Step 9: Butt joints tightly, don't overlap. Push pieces together firmly so there's no gap between rolls, but don't let them overlap. Overlapping creates a raised ridge that dries out and dies. If you can slip a finger into a joint, it's too loose; push the pieces together.
Step 10: Cut to fit with a utility knife. For curves around beds, trees, or hardscape edges, cut the sod face-up using a utility knife or a sod knife. A sharp blade makes cleaner cuts and reduces the ragged edge that dries out first. Save larger offcuts to fill gaps or odd spots rather than cutting new pieces.
Step 11: Roll the entire installation. Once all the sod is down, make two passes with a water-filled sod roller in perpendicular directions. Rolling presses the sod into firm contact with the soil, eliminating air pockets under the roots. This step is easy to skip and genuinely important. Poor soil contact is the leading reason sod fails to root.
Step 12: Water immediately. Within 30 minutes of finishing, water the entire area deeply, enough to wet the soil 3 to 4 inches below the sod. Lift a corner piece to check. If the soil beneath is still dry, keep watering.
Watering New Sod
The first two weeks are critical. New sod has no established root system and can't pull moisture from deep soil. It depends entirely on what you give it from above.
For the first week, water twice a day (morning and late afternoon) long enough to keep the top 1 to 2 inches of soil consistently moist. Don't let it dry out. On hot days above 85 degrees, a third light watering midday on the sod surface, not a deep soak, keeps it from scorching.
In the second week, reduce to once daily, watering deeply in the morning. The goal is to encourage roots to chase moisture downward. By the end of week two, lift a corner of sod and tug gently. If you feel resistance, roots are starting to establish. If the piece lifts cleanly with no resistance, give it a few more days and keep the moisture consistent.
After the third week, transition to a normal lawn watering schedule: deep and infrequent, around 1 inch per week total (rainfall counts). Frequent shallow watering at this stage trains shallow roots, which makes the lawn more drought-sensitive long-term.
The First Mow and Long-Term Care
Mow for the first time once the sod has rooted well enough that you can't pull it free from the soil, typically 2 to 3 weeks after installation. Mow at a higher setting than usual (3 to 3.5 inches for most cool-season grasses) and make sure the mower blade is sharp. A dull blade on newly rooted turf can tear pieces loose rather than cutting them cleanly.
Don't fertilize again for 4 to 6 weeks after the starter fertilizer application. The roots are tender and the soil is still settling. After that window, switch to a balanced maintenance fertilizer appropriate for your grass type and region.
If you end up with thin spots or patches that didn't take, overseeding into the bare areas is usually more practical than pulling up surrounding sod to relay. Alternatively, if you're comparing this process to starting a lawn from scratch, our seed-to-lawn walkthrough covers that route in similar detail.
Frequently Asked Questions
How long does sod take to root?
Most sod varieties establish a functional root system in 2 to 3 weeks under good watering conditions. Full deep rooting, where the lawn can handle normal foot traffic and dry spells, takes closer to 4 to 6 weeks. Cooler temperatures slow this down; summer heat speeds establishment as long as moisture stays consistent.
Can I lay sod over existing grass?
No. Laying sod over living or dead grass creates a barrier between the new roots and the soil. The sod may look fine for a few weeks while it lives off stored energy, then die when it can't root through the organic layer. Always clear the ground first.
How much sod do I need to order?
Measure the area in square feet and add 5 to 10 percent for cuts and waste. Sod is typically sold by the square foot or in rolls that cover around 9 square feet each. If your yard has many curves or irregular beds, err toward 10 percent extra.
What if it rains right after I lay sod?
Light rain after installation is helpful. Heavy rain on freshly laid sod can wash pieces out of position and erode the soil below, especially on slopes. If a storm is forecast in the first 48 hours, consider delaying installation on sloped areas, or stake the sod on those sections with biodegradable staples.
Can I walk on new sod right away?
Minimal foot traffic to complete the installation is fine. But avoid regular walking, playing, or mowing on new sod for the first two to three weeks. The roots need that time to anchor, and repeated foot traffic on unrooted turf compacts the soil and tears connections as they form.